 |
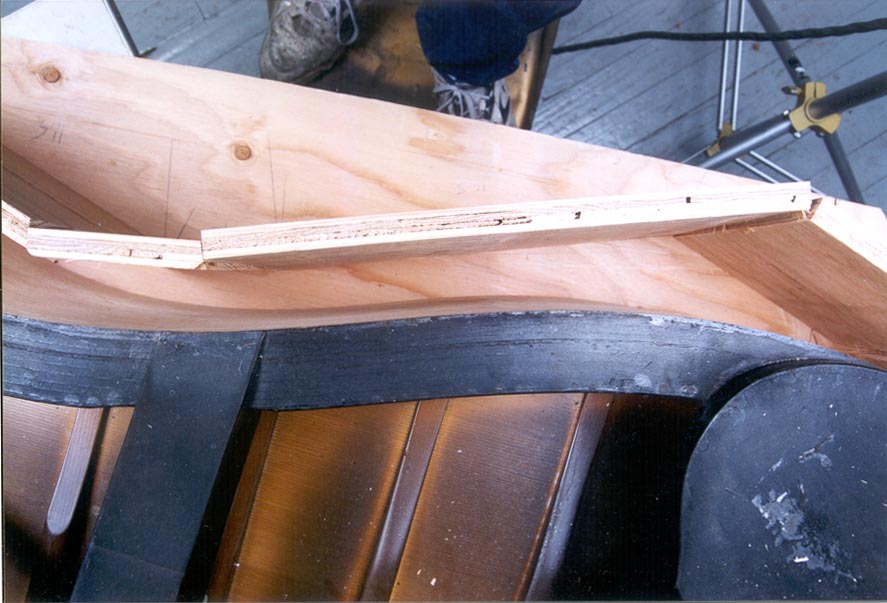
There are more photo's to follow as well as test on the process. Please check back here Knowing that I would have to eventually clamp the press to the piao I planned the angles of the exterior to best suit the eventual clamping process but to also minimize the thickness of the press. |
|||||
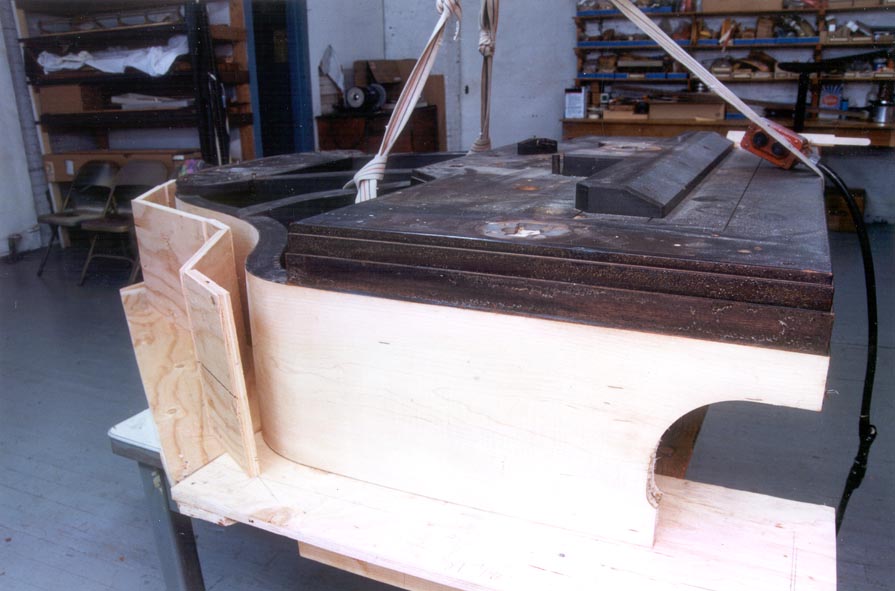 |
Another view as I come around the treble side of the piano | |||||
 |
Here shows the double sided thin foam tape, sealing the rim to the plastic sheeting. Knowing that I would be pouring a two part urethane foam into the cavity, I did not want the foam working it's way underneath. | |||||
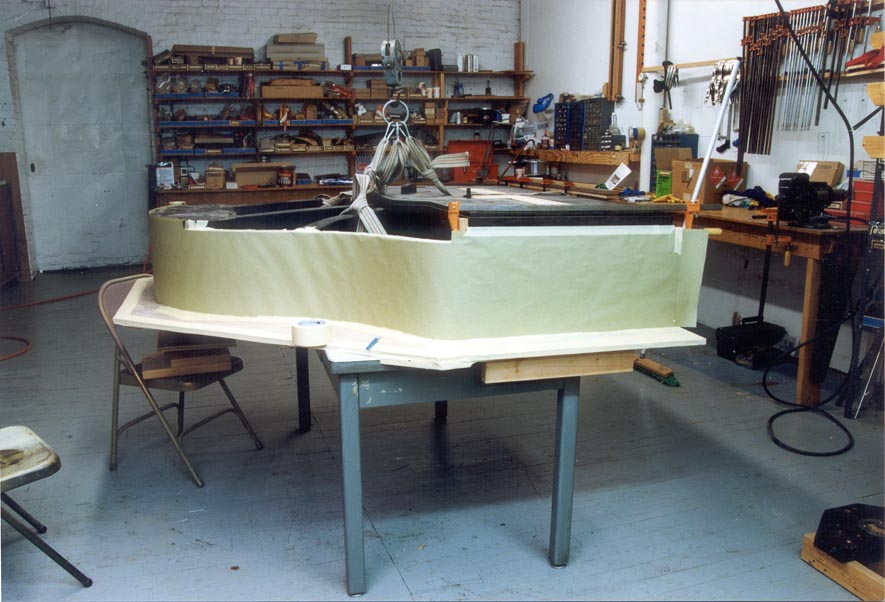 |
Knowing that the foam would adhear to the knurlled surface of the piano I used an auto body urethate resistant paper to line the exterior of the piano | |||||
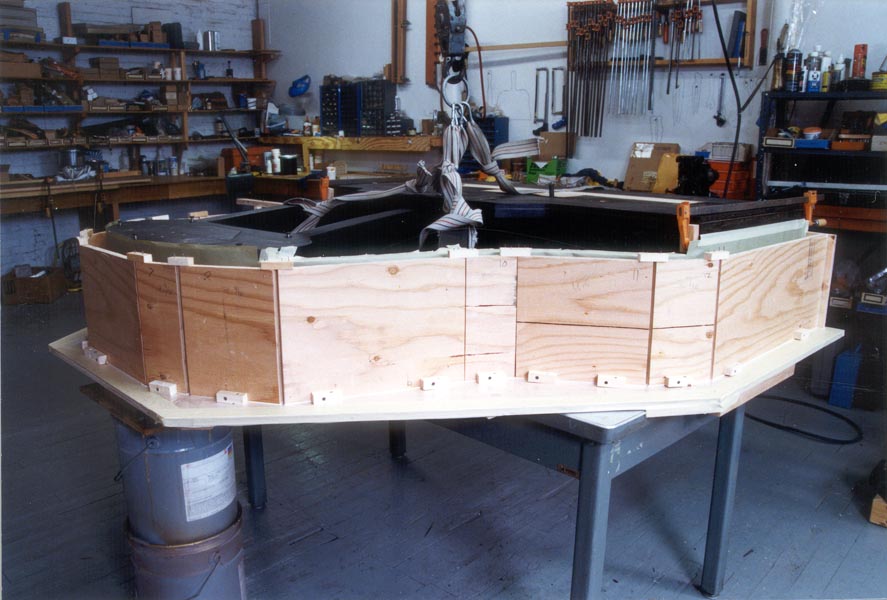 |
I have added small wooden blocks to hold the outer wood surface from distorting as the foam expands and hardens | |||||
 |
This moment was filled with both great concern and humor. The foam expands to 10x it's volume after the two parts are mixed. I did calculate the necessary volume.....but I failed to leval the base of the form. As the liquid settled to the spine side of the mould it began expanding up and over the sides...ooops | |||||
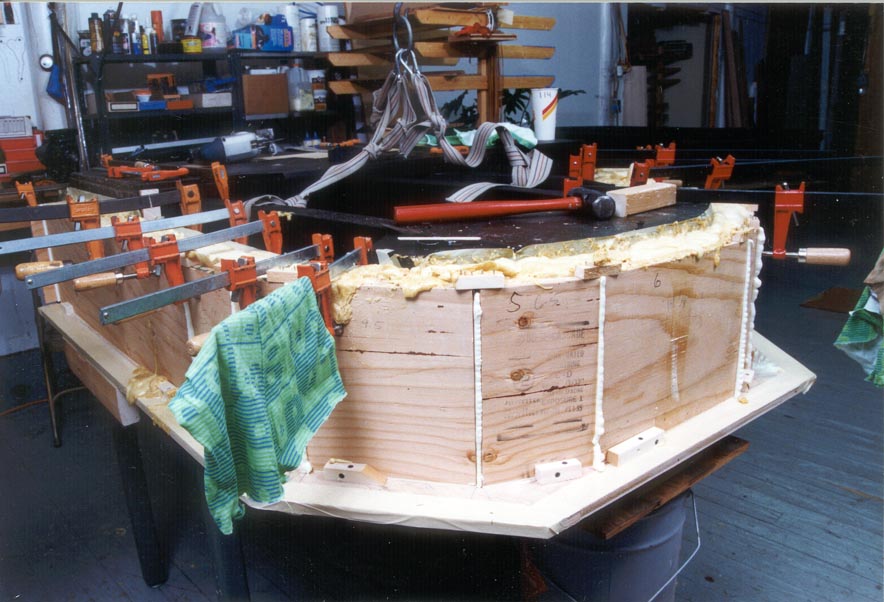 |
Some fast thinking and footwork had the foam trimmed and the voids filled. The clamps here are to keep the form from distorting as the foam continues to expand and harden. I was impressed with the pressure the expanding foam exerted. More than I had planned originally. Note the bright green cloth. After poking myself in the ribs with the end of the clamps.....the green cloth was a more visable reminder to keep clearance. | |||||
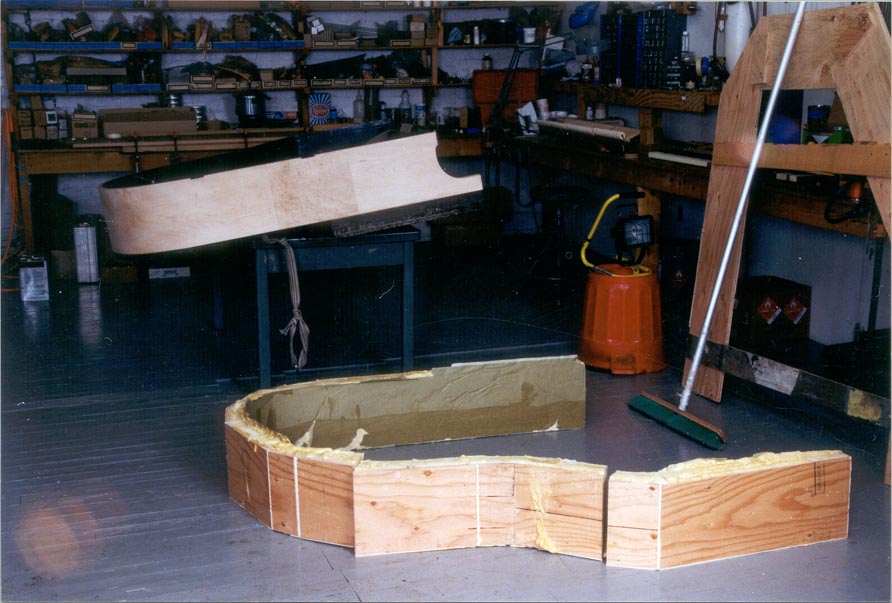 |
The mould as it came off the piano. Considerable "body work" was needed to fill the various inconsistancies where the paper wrinkled. I am surmising that as the foam expanded, it also attatched itself to the paper and pulled it as it continued to expand. This may account for the distortion in the paper. | |||||
| This last image (missing) is of the completed mould/press Image coming soon. | ||||||